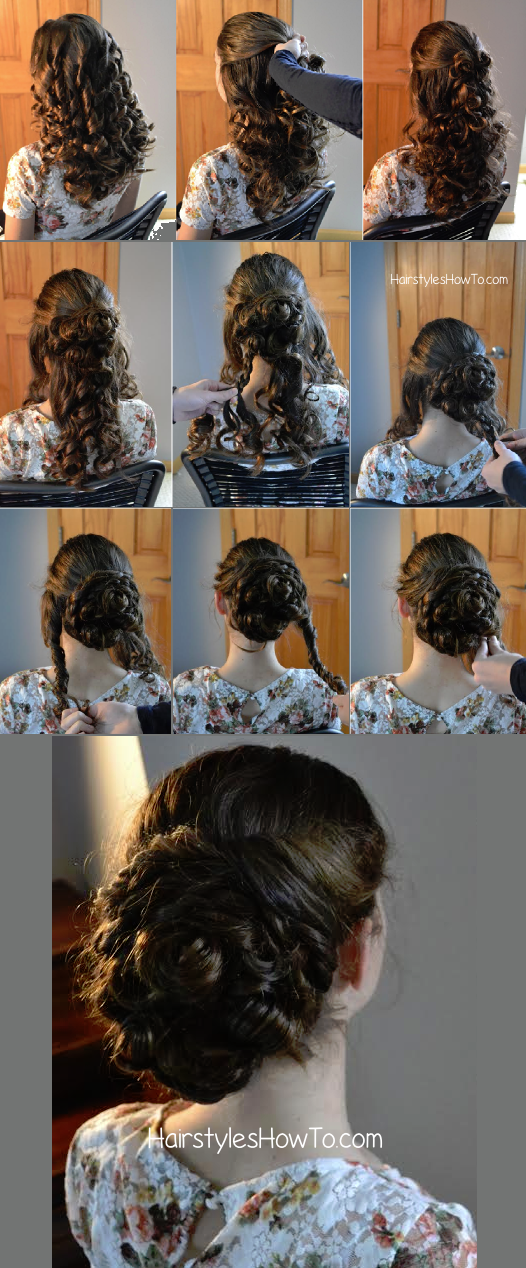
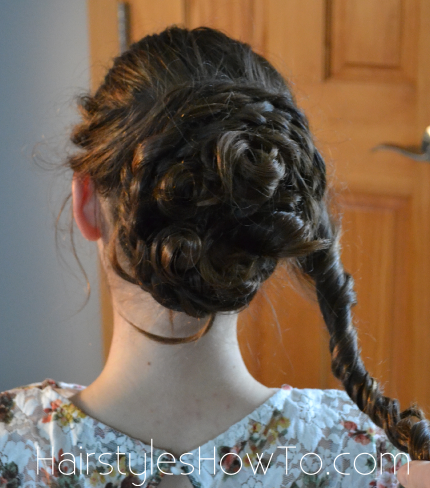
1. Start with the hair in tight curls. My preferred method for this style is to wrap 1 to 2 inch sections of hair around a 3/4 inch curling iron and then either letting them cool in my hand or setting them with a clip to let them cool.
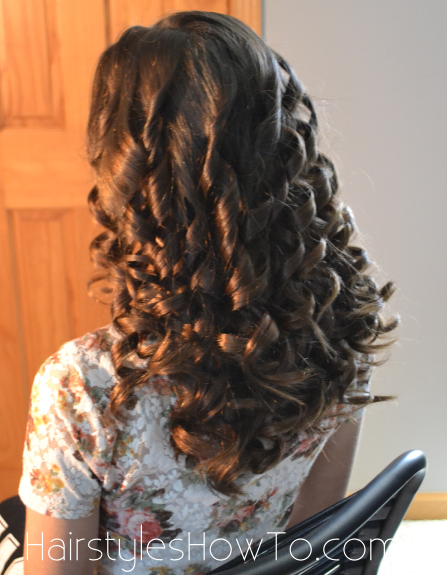
2. Section off the hair from each temple back and secure it with either crossed bobby pins or a clear elastic.
3. Begin creating pin curls with the hair from the sectioned off hair and directly below it. To create a pin curl, wrap the curl in the direction it was curled around your fingers and then secure to the head with a hair pin.
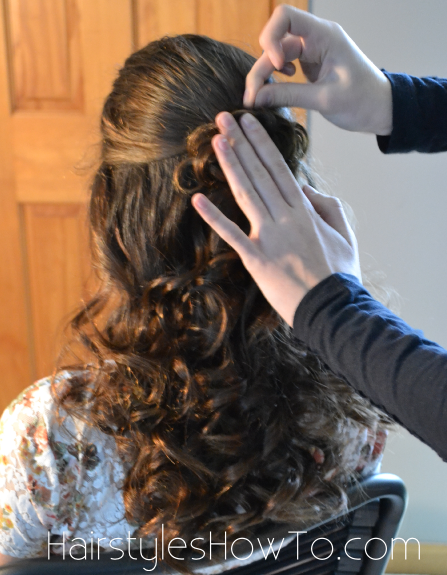
4. At some point, section off the hair below the temple to the back of the ears. We will use this later.
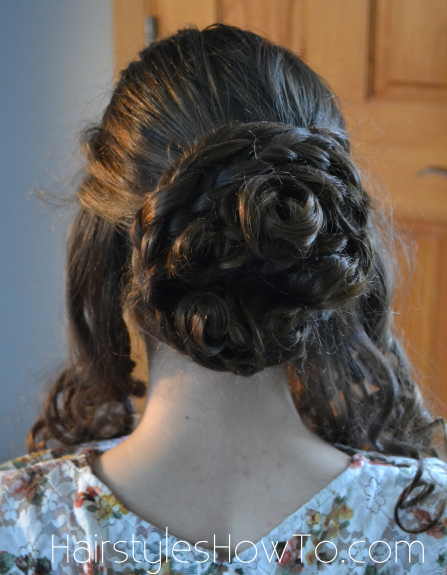
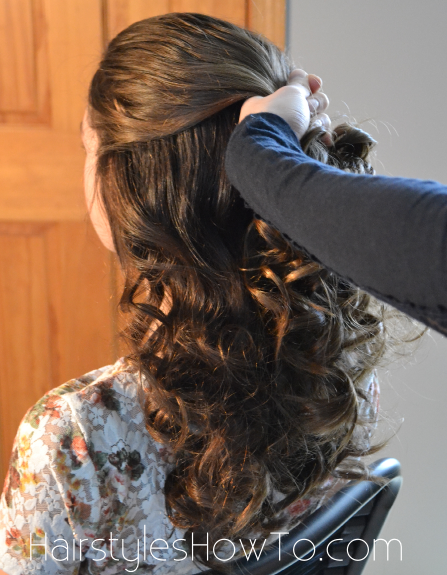
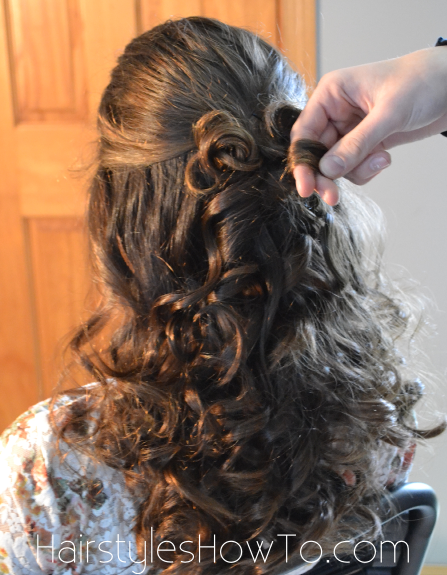
5. Continue making pin curls with the hair until you have the bun the size you want but still enough hair to create two braids with the bottom sections of hair.
6. Split the remaining hair (not including the sections you parted in the front) into two sections and loosely braid each and wrap over the bun pinning it in a place that it lays on top of the bun.
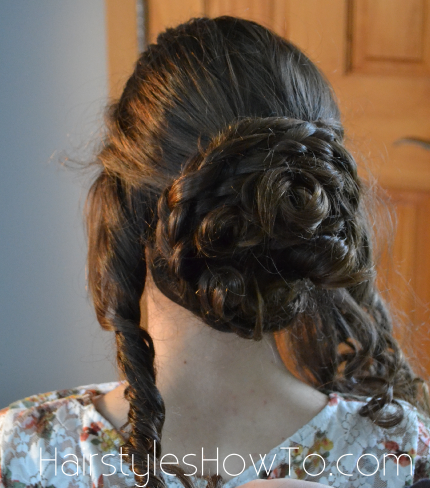
7. Twist the front sections in the direction of the curl and sweep over the bun and pin in place. If the hair you are working with is thinner, you can use these sections for the braids and incorporate all of the rest of the hair into the bun.
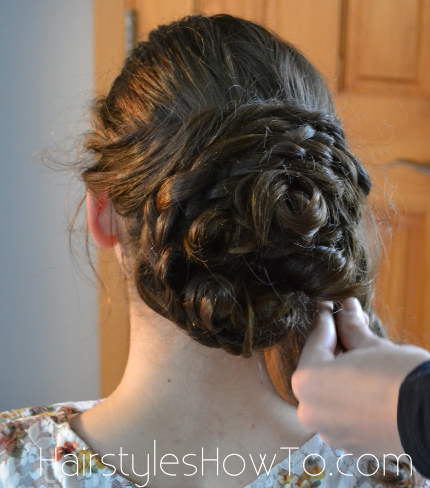
8. Spray with hairspray to control flyways and add pins where you feel the hairstyle needs secured.
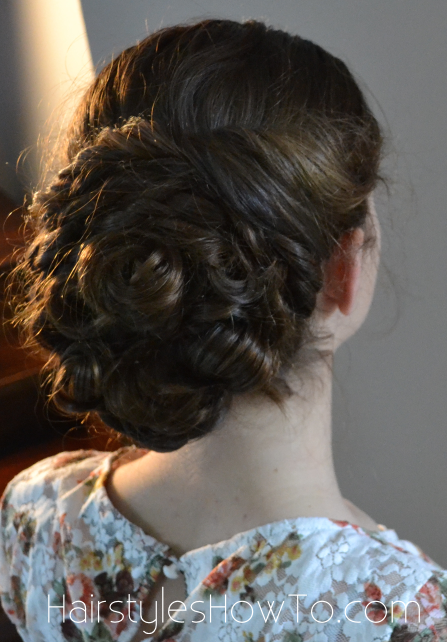
Finished!
Pictorial: